Equipment
- Measuring tape
- Ruler
- Marker
- Box cutter or heat cutter
- Wooden board
- White glue
Materials
- Duct tape
- XPS board
- EPS board
Want a simple aerobics stepper, but the ones available for sale just don’t cut it?
You’re in the right place!
This construction is cheap, strong, and weighs almost nothing!
Intro
I was in the same boat. The available steppers either seemed too flimsy, had odd dimensions, or were simply too expensive for what they are.
So I decided to make one myself. I’ve made a set of foot supports for a weight lifting bench a year ago, and they’re holding up great. Figured the same construction would work for this project as well.
The two main materials I used were a sheet of 20mm thick pink XPS board (125x60cm), and some simple EPS styrofoam boards that were similar in size.
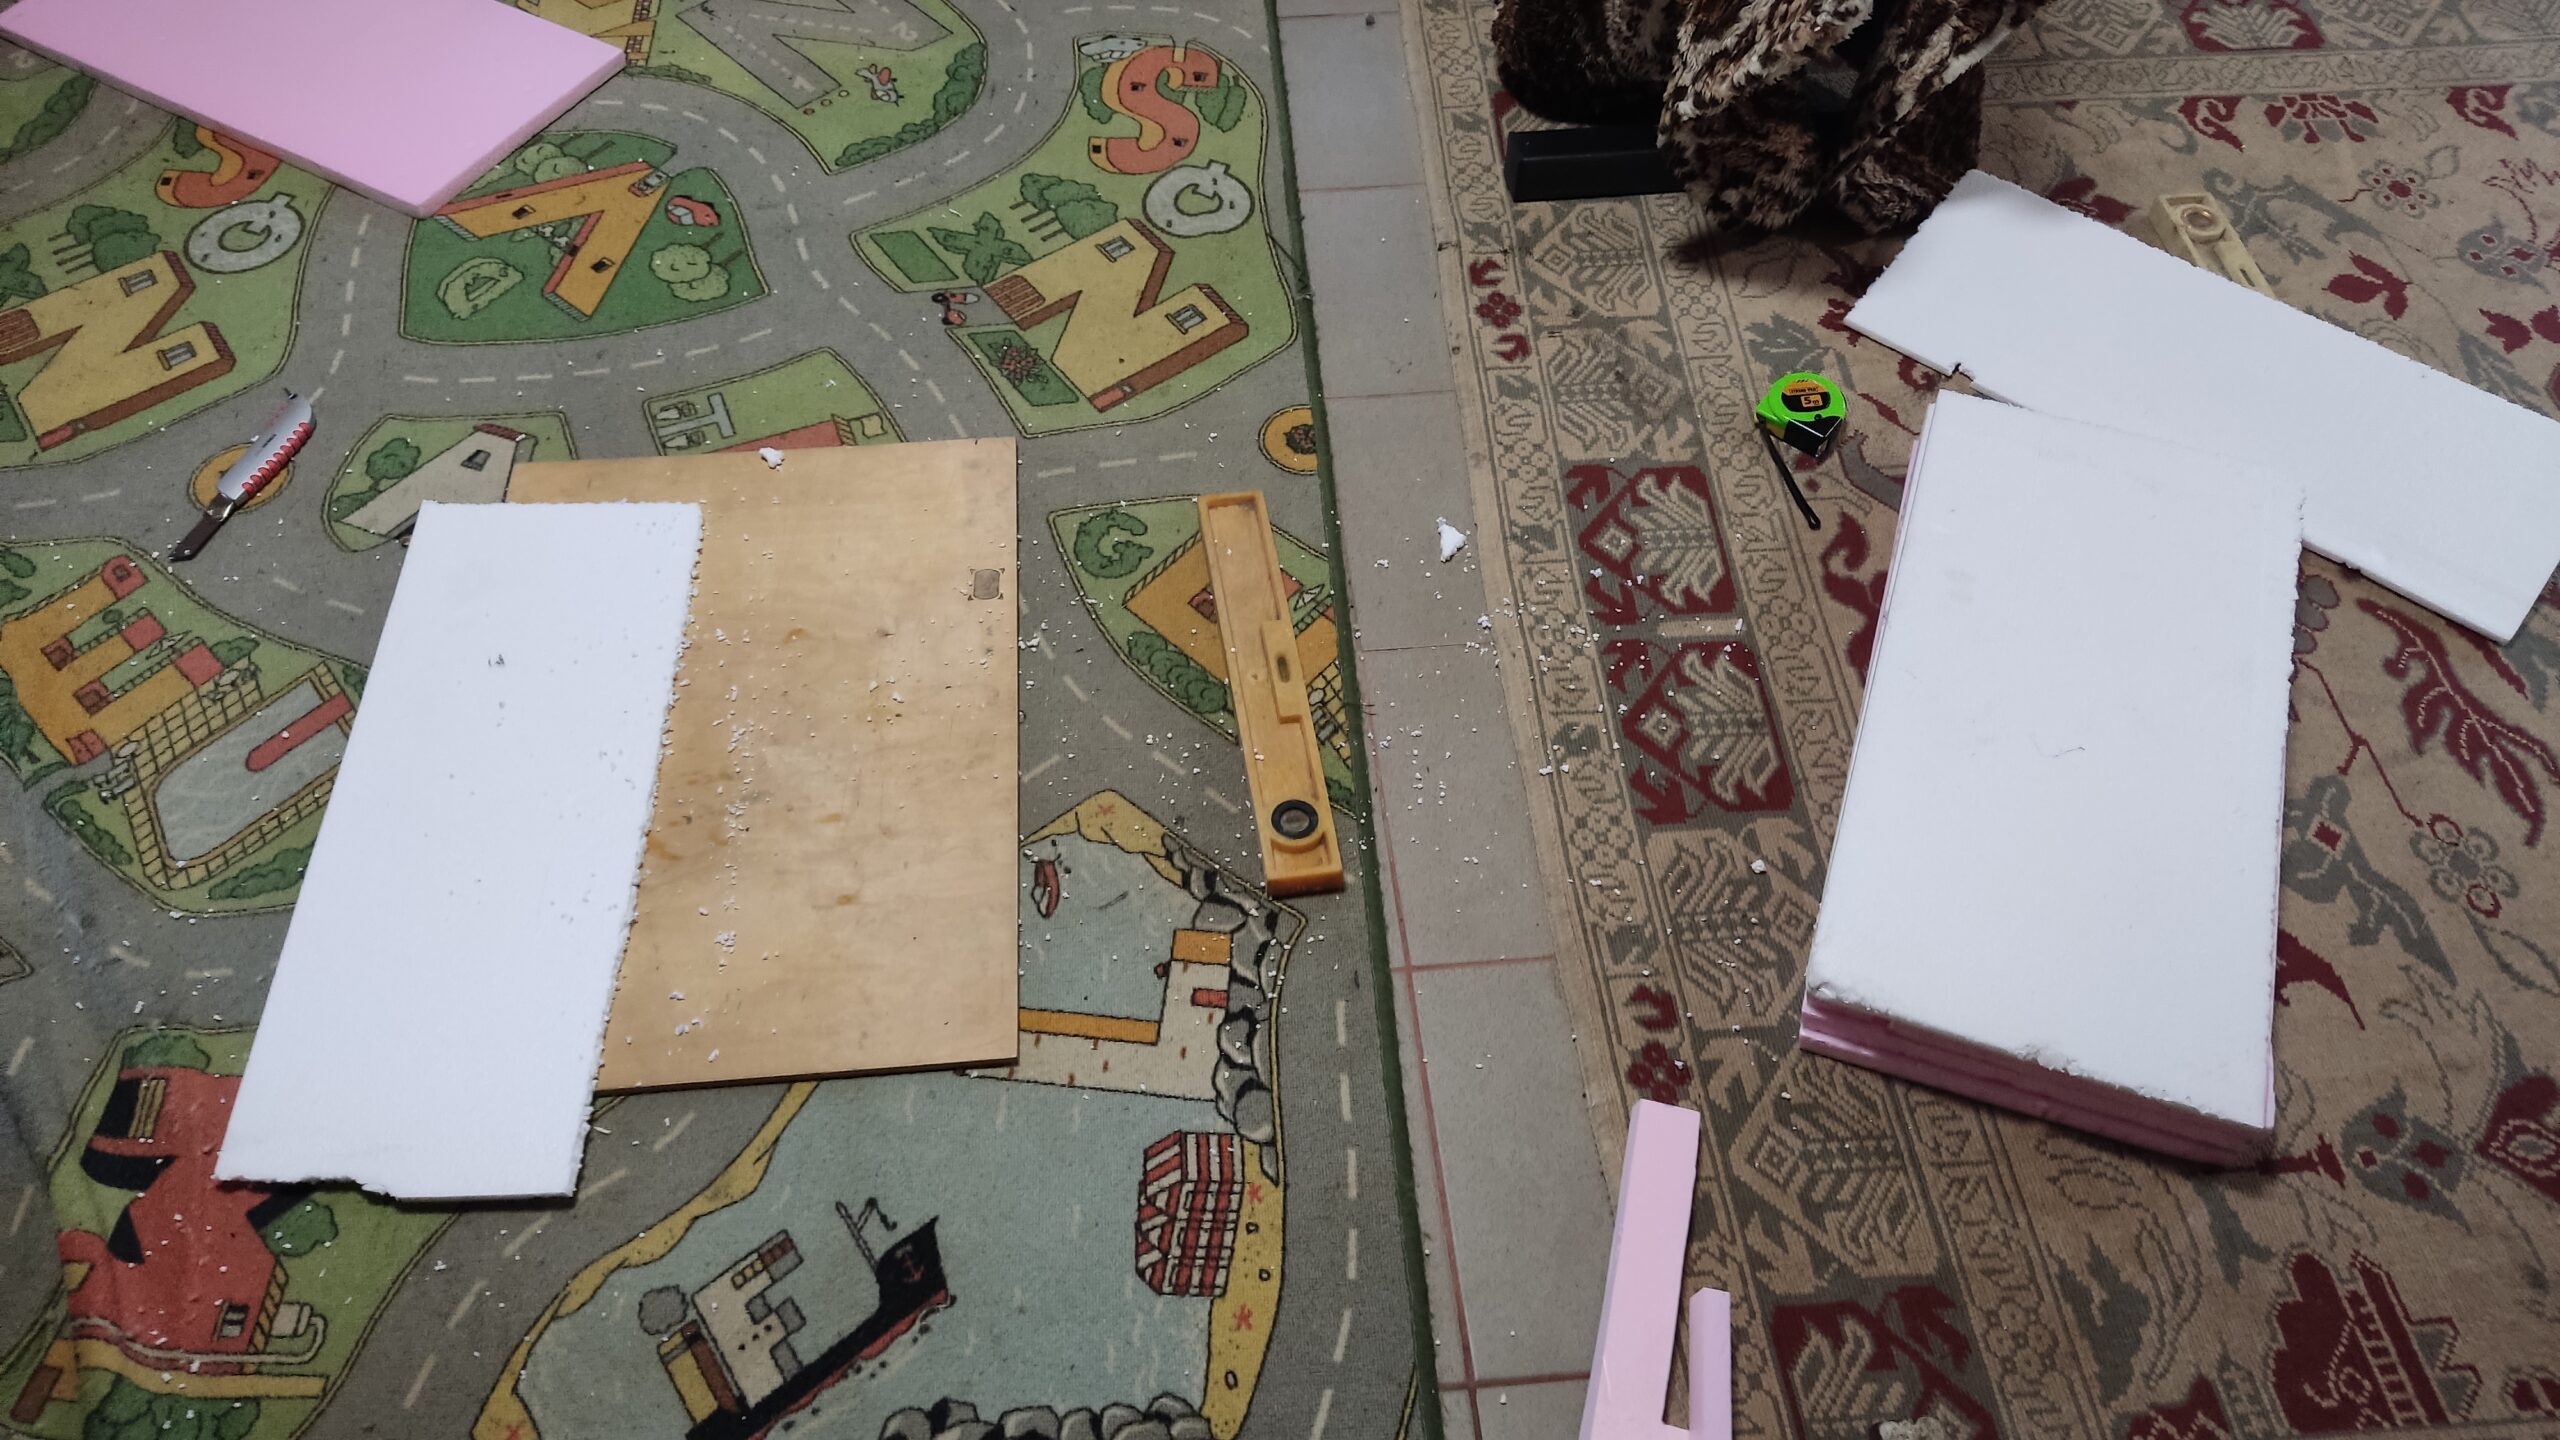
Cutting
I wanted the stepper to be 60cm x 30cm x 15cm.
These dimensions meant almost exactly quartering the pink XPS board, which made this part of the job easy. As I’m lacking a heat cutter, I used a simple box cutter. (Get one with the thinnest possible blade.) The one thing you should be mindful of, is that you shouldn’t force the blade through, and cut it in a single pull. Always go little by little, layer by layer, slowly going deeper. Otherwise, you’re going to fray the sides and it’ll end up uneven. Be sure to use a wooden board for the cutting, as you don’t want cut marks in the floor or a table.
Then, we’re off to cut the white styrofoam. If you’re using a thick board, you should observe the same rules, and go slow. If using thin ones, it basically separates itself. At this step I realized these boards aren’t exactly as wide as the pink ones, so I had to do some layers in pieces.
But have a vacuum cleaner ready, as this one’s incredibly messy, and sticks to everything.
If you don’t want to clean, just buy at least two sheets of the pink XPS board.
The only reason I used the simple styrofoam is because I already had those sheets lying around (and they’re cheaper), and I don’t like wasting things.
I layered the stepper in the following way: two XPS boards on the top and bottom, then alternated one whole, and one pieced together styrofoam board. In the middle I also used pieces of some pink XPS board I had lying around, to cut down on clutter.

Gluing
Afterwards, it was a simple job of gluing them together. For this I used simple white school glue
–WARNING–
Only use glue that’s not exothermic, because it WILL melt everything!
Superglue is absolutely out of the question!
I felt a bit lazy, and glued together everything in one go, but that later turned out to be a mistake. The layers shifted somewhat, and I had to redo some of the white styrofoam layers. The pink ones glued together much easier.
Then I put the whole thing in a low traffic area, weighed the whole thing down, and waited. Drying time was about 3 days.

Taping
When you’re sure it’s all nice and solid, we can go onto the next step. Break out the duct tape (the kind that has a mesh pattern, not electrical tape), and tape the sides. While this step is technically not necessary, it’s highly advisable. While the stepper is technically ready to go, the EPS we used as filler is brittle to the touch, and it’ll keep shedding beads. So to sidestep the issue, I tape up the sides. This time I used patterned tape, because why not. Might as well make it look prettier than a grey block.

Conclusion
And with that, the stepper is done! After a week of use (with and without weights) there are no signs of cracking, and it can withstand over 100kg. The only signs of use are toe indentations, and marks left by cats.
It’s a bit creaky, but I suppose that’s because of the EPS filling. If I were to do this again, I’d forego EPS entirely.
The only additional alteration I’ve done, is I added some non-slip strips to the bottom, because it kept slipping away ever so slightly with every step.